September 2010
Several people have asked me how I ice my cupcakes, what tip I use, etc. Others have commented on my piping skills and wondered how I do it. I’ll share my secret…it’s the tip. That’s really all it is. If you have the right tip, the rest is a cinch!
So this weekend I had some extra cake batter and made a couple cupcakes so that I could do a tutorial on how to pipe icing on cupcakes. This is the first time I’ve taken “process” pictures (I normally just take a picture of the final result). It makes for an image-heavy post, but hopefully that will be helpful in this case!
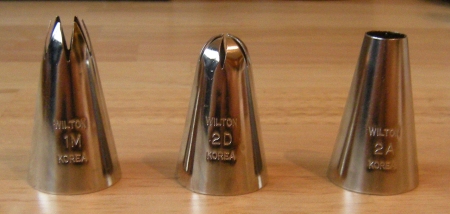
First, my supplies…Cupcakes, icing, an icing bag, a large coupler, and large tips.
Large tips are the key. The regular sized tips are great for piping borders on cakes and things like that, but these giant ones are what you need for cupcakes. I am going to demonstrate 3 different techniques using 3 different tips: the Swirl (1M), the Ruffle (2D), and the Blob (2A). (Disclaimer: I totally made those names up, they may or may not be the official names of these techniques!)
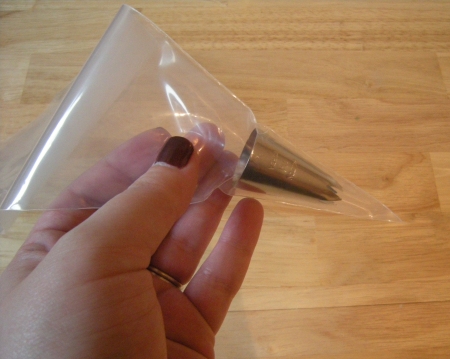
First, we need to assemble the icing bag. I’m using a coupler so that I can easily switch between tips, but a coupler is not necessary. If you are not using one, you start by dropping the tip inside the icing bag and pushing it down as far as it will go. The wide end of the tip will make an indentation on the plastic bag.
Next, take the tip out of the bag and cut the end off of the bag with a pair of scissors. Make your cut about 1/2 to 3/4 of an inch below the indentation in the bag. Next you would put the tip back into the bag.
I’m using a coupler, so I have done the above step with the coupler base. The tip fits over the coupler base.
And the coupler top screws in over the tip holding it in place. Once the tip is in place, I filled my bag with some icing.
And now we are ready to go!
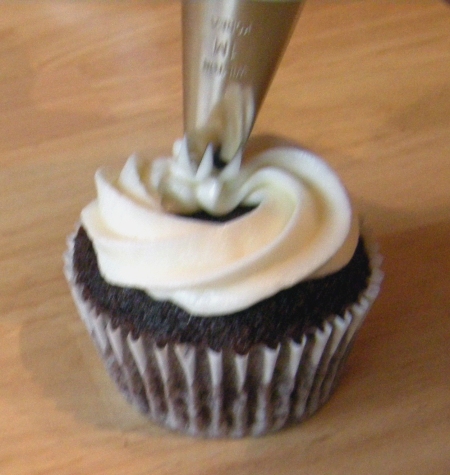
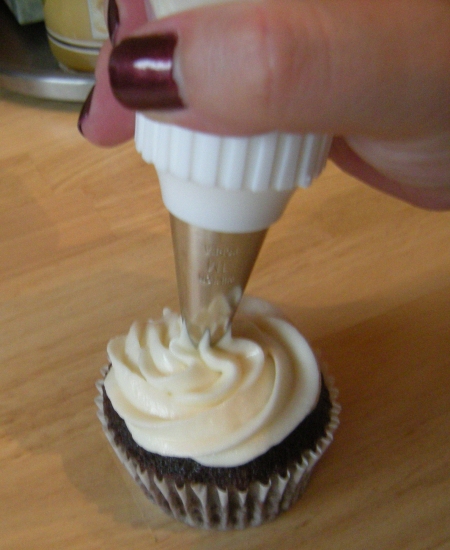
The first technique is the basic Swirl using the 1M tip (a large open star tip). You’ll want to start by holding the icing bag over the cupcake at a slight angle. Hold the bag in your non-writing hand (twisting the top of the bag to keep it closed). Hold the bottom of the bag similar to how you would hold a pencil. You’ll use your writing hand to guide the bag and your non-writing hand to control the pressure on the bag.
Using light pressure, pipe a circle around the outside of the cupcake. (Sorry for the blurry picture – I had the camera in one hand and the icing in the other.)
Next, cut inside and make another smaller circle to fill in the middle. Stop squeezing the bag, then pull up and away.
And that’s it – a Swirl!
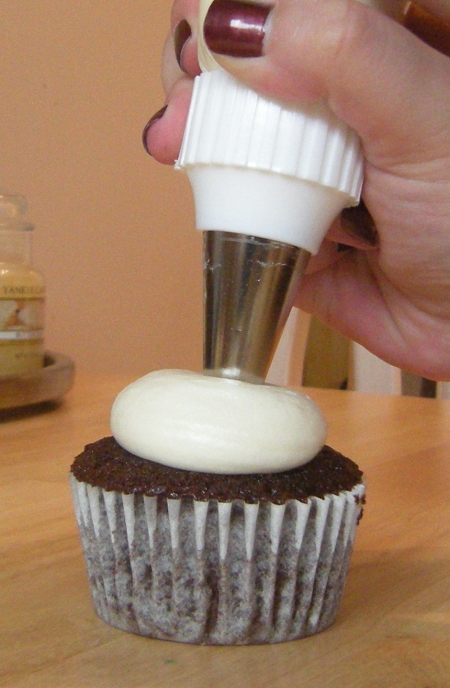
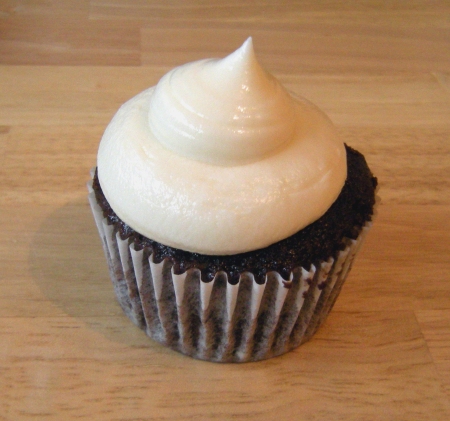
Next up is the Blob. This one seems to be a favorite of bakeries and it really couldn’t be easier! We’re using a large round tip for this, 2A.
Start with your icing bag held about 1/4 inch over the cupcake, straight up and down. I’m holding it at a slight angle, and you’ll see in a minute what effect that has.
Keep your tip stationary and apply moderate to hard pressure to the bag. Icing will spread out in a circle around your tip. Don’t pull your tip up!
Once your blob has reached the size you want, stop pressure on the bag, then lift the tip. (You can see that because I wasn’t holding my bag exactly upright, my blob is slightly skewed.) If you want a single blob, you’re done at this point. I did a double blob so after the first one was done, I repositioned my tip at the top of the blob and piped a slightly smaller one on top. And that’s it for Blobs!
The last technique is the Ruffle. This uses a drop flower tip, 2D. It’s not my favorite, but I’ve used it before so I included it here. For this, you’ll be using the same outside circle, inside circle technique as you did with the Swirl. I use a lot of pressure on the bag and a very slow movement around the cupcake. This gives the icing room to “ruffle”. I also try wiggling my hands up and down very slightly.
Once you’ve done the inside circle, give it an extra squeeze to ruffle in the middle. Stop pressure on the bag, then pull up and away.
So that’s it! Three different techniques and tips for lovely cupcakes.




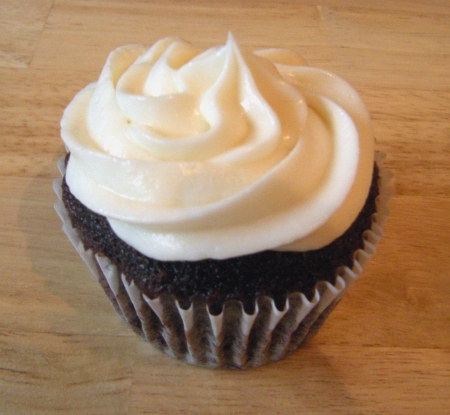



1M tip for the win!
I have trouble with air bubbles in my frosting bags, though. I can’t figure out how to load it up with a good amount of frosting (so that I’m not refilling the bag after every three cupcakes) without getting the air bubbles that then cause frosting blow-outs later.
Also, I need to look into this coupler thingy. It looks helpful in avoiding those incidents when I apply too much pressure and shoot the tip out into the frosting on the cupcake.
I fill my bag, them shake it up and down to shift the icing down and the air up.
The air bubbles are annoying – I have the blow-outs sometimes after refilling. I just try to massage the bag to get them out.
Make sure you get the large coupler for the large tips! The regular sized coupler won’t fit these tips. You definitely won’t be able to shoot the tip out with a coupler 🙂
I don’t use couplers with the larger tips. I have the featherweight bags and stick the larger tip inside the bag and push it down to the end until it is tight, then decorate. I’ve not had a problem with the icing leaking out and it works perfectly.
Thanks for your comment! I don’t usually use a coupler with the large tips either, but since I was changing between 3 tips for this, it was easier!
I am decorating a LOT of cupcakes for my little sisters graduation and have been searching all over the internet for demonstrations, etc. This was the first site that was really helpful! Thank you!
Thank you so much!! This is so clear and explained so well. Can’t wait to try it…
[…] more info on decorating cupcakes specifically, check out my Cupcake Tutorial post! Like this:LikeBe the first to like this […]
Hi what frosting recipe are you using..and great tutorial btw(:
I can’t remember for sure, but I think I was using a cream cheese icing. The recipe is under my Recipes tab!
Thank you so much! Your thorough directions really help! Can’t wait to try it out on the cupcakes!
What kind of icing do you use? I used buttercream and didn’t like it. Any advice on icing?
I think I used a Cream Cheese icing in this tutorial. My go-to recipe for icing is a buttercream (see the Easy Buttercream on my Recipes page), but if you don’t like regular buttercream, I also love the adapted Swiss Meringue buttercream or the Flour Icing and of course the Cream Cheese icing also.
Hi . Thanks I really enjoyed reading your explanation. I have a question , how long before I want the cupcakes can i ice them? I have a party on Sunday can i ice them on Thursday ? Will the colouring run? Or the icing separate? Thanks . From Shelley
Hi Shelley, The icing shouldn’t run or separate. That said, I usually ice them the day before I need them. You could certainly make the cupcakes ahead of time and just ice them at the last minute. Hope that helps!